The Re-Roofing Process: Step-by-Step Overview
Introduction: Re-roofing is a significant home improvement project that involves replacing your existing roof with a new one. Whether you’re updating the look of your home or addressing issues like leaks and damage, understanding the re-roofing process can help you better prepare for the project. In this blog post, we’ll provide you with a step-by-step overview of the re-roofing process to clearly understand what to expect.
Step 1: Inspection and Assessment
The first step in the re-roofing process is thoroughly inspecting your current roof. A professional roofing contractor, like WBN Roofing Rossington, will assess the roof’s condition, identifying any damage, leaks, or structural issues that must be addressed.
Step 2: Choosing Materials
Once the assessment is complete, you’ll work with your roofing contractor to choose suitable materials for your new roof. This includes selecting roofing materials, colours, and styles that match your preferences and complement your home’s architecture.
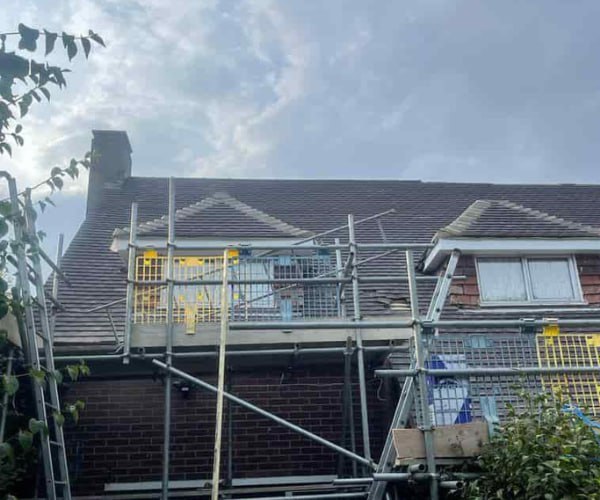
Step 3: Preparation
Before the installation begins, the roofing crew will prepare the site. This involves clearing the area around your home, protecting landscaping, and ensuring the work area is safe and accessible.
Step 4: Removal of Old Roofing
In this step, the existing roofing materials are removed. This includes stripping away shingles, underlayment, and other components down to the roof deck. Any damaged or deteriorated roof deck sections will be repaired or replaced.
Step 5: Inspection of Substrate
With the old roofing materials removed, the roofing crew will inspect the roof substrate for any damage or decay. Repairs will be made to ensure a solid foundation for the new roof.
Step 6: Installation of Underlayment
A high-quality underlayment is installed over the repaired roof deck. This additional barrier against water infiltration provides extra protection against leaks.
Step 7: Roofing Material Installation
The selected roofing materials, whether shingles, tiles, or metal panels, are installed according to manufacturer guidelines and industry best practices. This involves careful placement, nailing, and sealing to ensure a weather-tight and secure roof.
Step 8: Ventilation and Flashing
Proper ventilation is crucial for a long-lasting roof. The roofing team will install vents and flashing to prevent moisture buildup and improve air circulation in your attic space.
Step 9: Clean-Up and Inspection
Once the roofing material is installed, the crew will clean up the work area, removing debris and ensuring your property is in good condition. A final inspection ensures the new roof meets quality standards and is ready to withstand the elements.
Step 10: Final Touches
Any finishing touches, such as installing gutters, downspouts, and trim, will be completed to enhance the functionality and appearance of your new roof.
Conclusion: The re-roofing process involves several well-defined steps that collectively ensure the installation of a durable, weather-resistant, and aesthetically pleasing roof. A professional roofing contractor like WBN Roofing Rossington will guide you through each stage, from initial inspection to the final touches, ensuring that your re-roofing project is a successful and rewarding investment in the protection and value of your home.
Call us on: 01302 490 892
Click here to find out more about WBN Roofing Rossington
Click here to complete our contact form and see how we can help with your roofing needs.